Table of Contents
- <strong>Understanding Sticky Rice</strong>
- <strong>Exploring Aroma Rice Cookers</strong>
- <strong>Sticky Rice in Various Cuisines</strong>
- <strong>Preparation: Soaking the Sticky Rice</strong>
- <strong>The Perfect Ratio of Rice and Water</strong>
- <strong>Cooking Sticky Rice in an Aroma Rice Cooker</strong>
- <strong>Cooking Time for Sticky Rice</strong>
- <strong>Mistakes to Avoid While Cooking Sticky Rice</strong>
- <strong>Tips for Perfect Sticky Rice</strong>
- <strong>FAQs</strong>
Sticky rice, a popular staple in many Asian cuisines, is known for its distinctive sticky texture. Traditionally, cooking sticky rice involves a lengthy process of soaking and steaming. However, with the advent of modern kitchen appliances like the Aroma Rice Cooker, making this delightful dish has become a breeze. Let’s delve into a step-by-step guide on how to make sticky rice in an aroma rice cooker and explore some delightful recipes you can try with sticky rice.
[custom_toc]Understanding Sticky Rice
Sticky rice, also known as glutinous rice or sweet rice, is a unique variety of rice with a high starch content. This high starch content gives the rice its characteristic sticky, gummy texture upon cooking. Not to be confused with sushi rice, sticky rice is a distinct variety, often found in Thai, Chinese, and Japanese cuisines.
Different names are used to label sticky rice, such as ‘Thai sticky rice’, ‘Chinese sticky rice’, ‘sweet rice’, or ‘glutinous rice’. However, these are all the same type of rice and are perfect for the recipes discussed in this article. Now that we’ve understood what sticky rice is, let’s explore the tool that will help us cook it to perfection – the Aroma Rice Cooker.
Exploring Aroma Rice Cookers
An Aroma Rice Cooker is a versatile kitchen gadget that ensures perfectly cooked rice every time. It features an inbuilt thermostat-controlled timer and an electric heating element. By managing the temperature, time, and water quantity, the Aroma Rice Cooker delivers precise control over the cooking process, resulting in perfect rice with each use.
Sticky Rice in Various Cuisines
Sticky rice is enjoyed in a variety of ways across different cuisines. It’s a common accompaniment to stir-fries and curries, its stickiness making it perfect for soaking up delicious sauces. In addition to savoury dishes, sticky rice is also used in desserts, such as the famous Thai mango sticky rice.
Preparation: Soaking the Sticky Rice
Before cooking, it’s generally recommended to soak sticky rice for at least 4 hours. This process softens the grains and allows them to release more starch, ensuring a fluffy and tender result. However, one of the benefits of using an Aroma Rice Cooker is that it can cook sticky rice to perfection with or without pre-soaking.
The Perfect Ratio of Rice and Water
When it comes to cooking sticky rice in an Aroma Rice Cooker, the ratio of rice to water is crucial. Generally, a 1:1.5 ratio of sticky rice to water is recommended. This means for every cup of sticky rice, you should add 1.5 cups of water. However, this ratio may need slight adjustments based on the specific model of your cooker, so it’s always a good idea to refer to the manufacturer’s instructions.
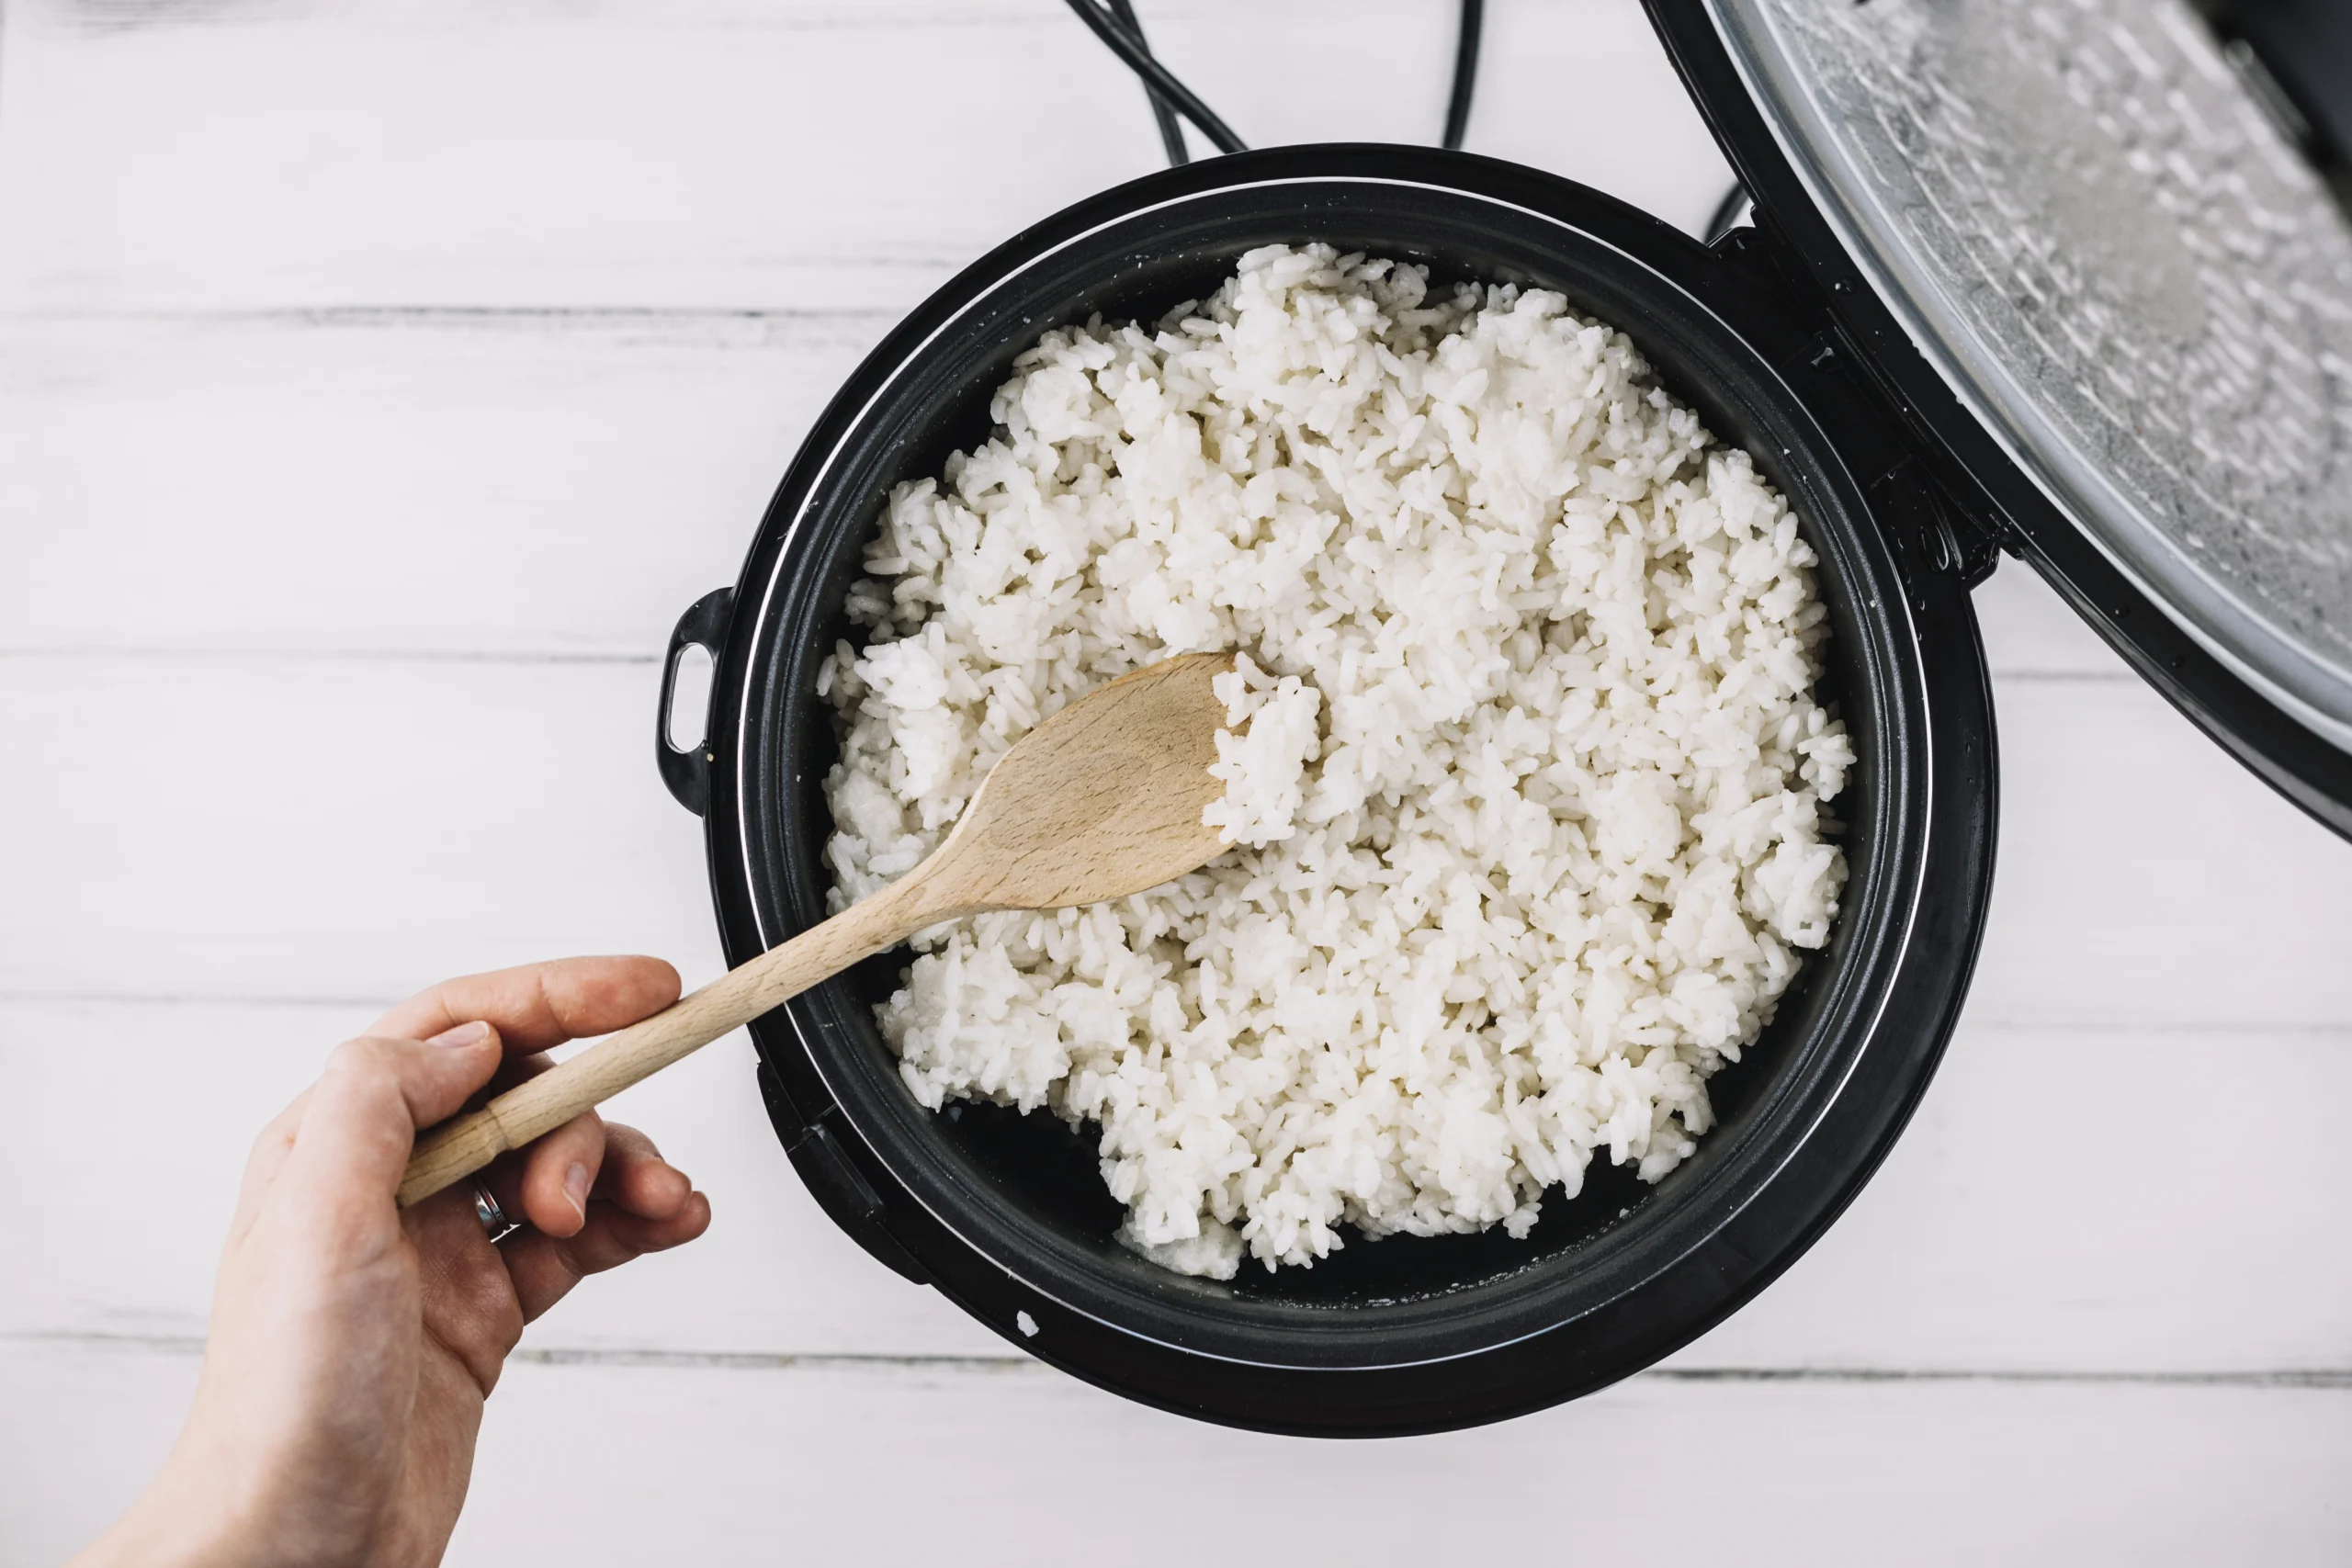
Cooking Sticky Rice in an Aroma Rice Cooker
Now, let’s get into the main process – how to make sticky rice in an Aroma Rice Cooker. Here’s a step-by-step guide:
- Measure the desired quantity of sticky rice using the cup provided with the Aroma Rice Cooker. Rinse the rice under cold water until the water runs clear to remove any excess starch.
- Transfer the rinsed rice into the cooker pot and add the appropriate amount of water. Remember, the recommended ratio is 1:1.5 of sticky rice to water.
- Close the lid of the rice cooker, select the ‘white rice’ setting, and let the machine do its magic. It will cook the rice for approximately 20-30 minutes.
- Once the rice cooker switches to the ‘keep warm’ mode, it signifies that the rice is cooked. Allow the rice to rest in this mode for a few minutes before fluffing it with a fork.
- Your perfect sticky rice is now ready to serve!
Cooking Time for Sticky Rice
The cooking time for sticky rice in an Aroma Rice Cooker is typically around 30 minutes. However, this duration can vary based on the specific model of your cooker. Always refer to the manufacturer’s instructions for exact cooking times.
Mistakes to Avoid While Cooking Sticky Rice
Cooking sticky rice is straightforward, but there are a few common mistakes to avoid:
- Not Soaking the Rice: While it’s not mandatory when using an Aroma Rice Cooker, soaking the rice beforehand helps to soften the grains and release more of its starch content, resulting in a more tender texture.
- Ignoring the Manufacturer’s Instructions: The cooking times and rice-to-water ratios can differ based on the model of your cooker. Always refer to the instructions provided by the manufacturer for the best results.
- Opening the Lid During Cooking: It’s essential to keep the lid of the cooker closed during the cooking process. Opening the lid releases heat and can lead to undercooked or overcooked rice.
- Overloading the Cooker: Overfilling the cooker can lead to uneven cooking. Ensure there’s enough space in the cooker for the rice to expand as it cooks.
Tips for Perfect Sticky Rice
Here are some tips to help you get perfect sticky rice every time you use your Aroma Rice Cooker:
- Soak the Rice: If you have time, soak your sticky rice for at least 4 hours before cooking. This will help to soften the grains and produce a fluffier result.
- Follow the Ratio: Maintain a 1:1.5 ratio of sticky rice to water for optimal results.
- Check the Instructions: Always refer to your manufacturer’s instructions for specific cooking times and instructions.
- Stir Before Serving: Stir the cooked rice before serving to ensure even cooking and to fluff up the grains.
FAQs
Cooking sticky rice in an Aroma Rice Cooker is a quick and simple process, ensuring perfectly cooked, fluffy and sticky rice every time. Now that you know how to make sticky rice in an aroma rice cooker, you can experiment with a variety of recipes and enjoy this delightful dish more often. Happy cooking!
